


Description
This project is a Mod Manager for the Modding Community build of Super Smash Brothers Crusade (SSB CMC+). It allows for the installation and management of mods through a GUI.
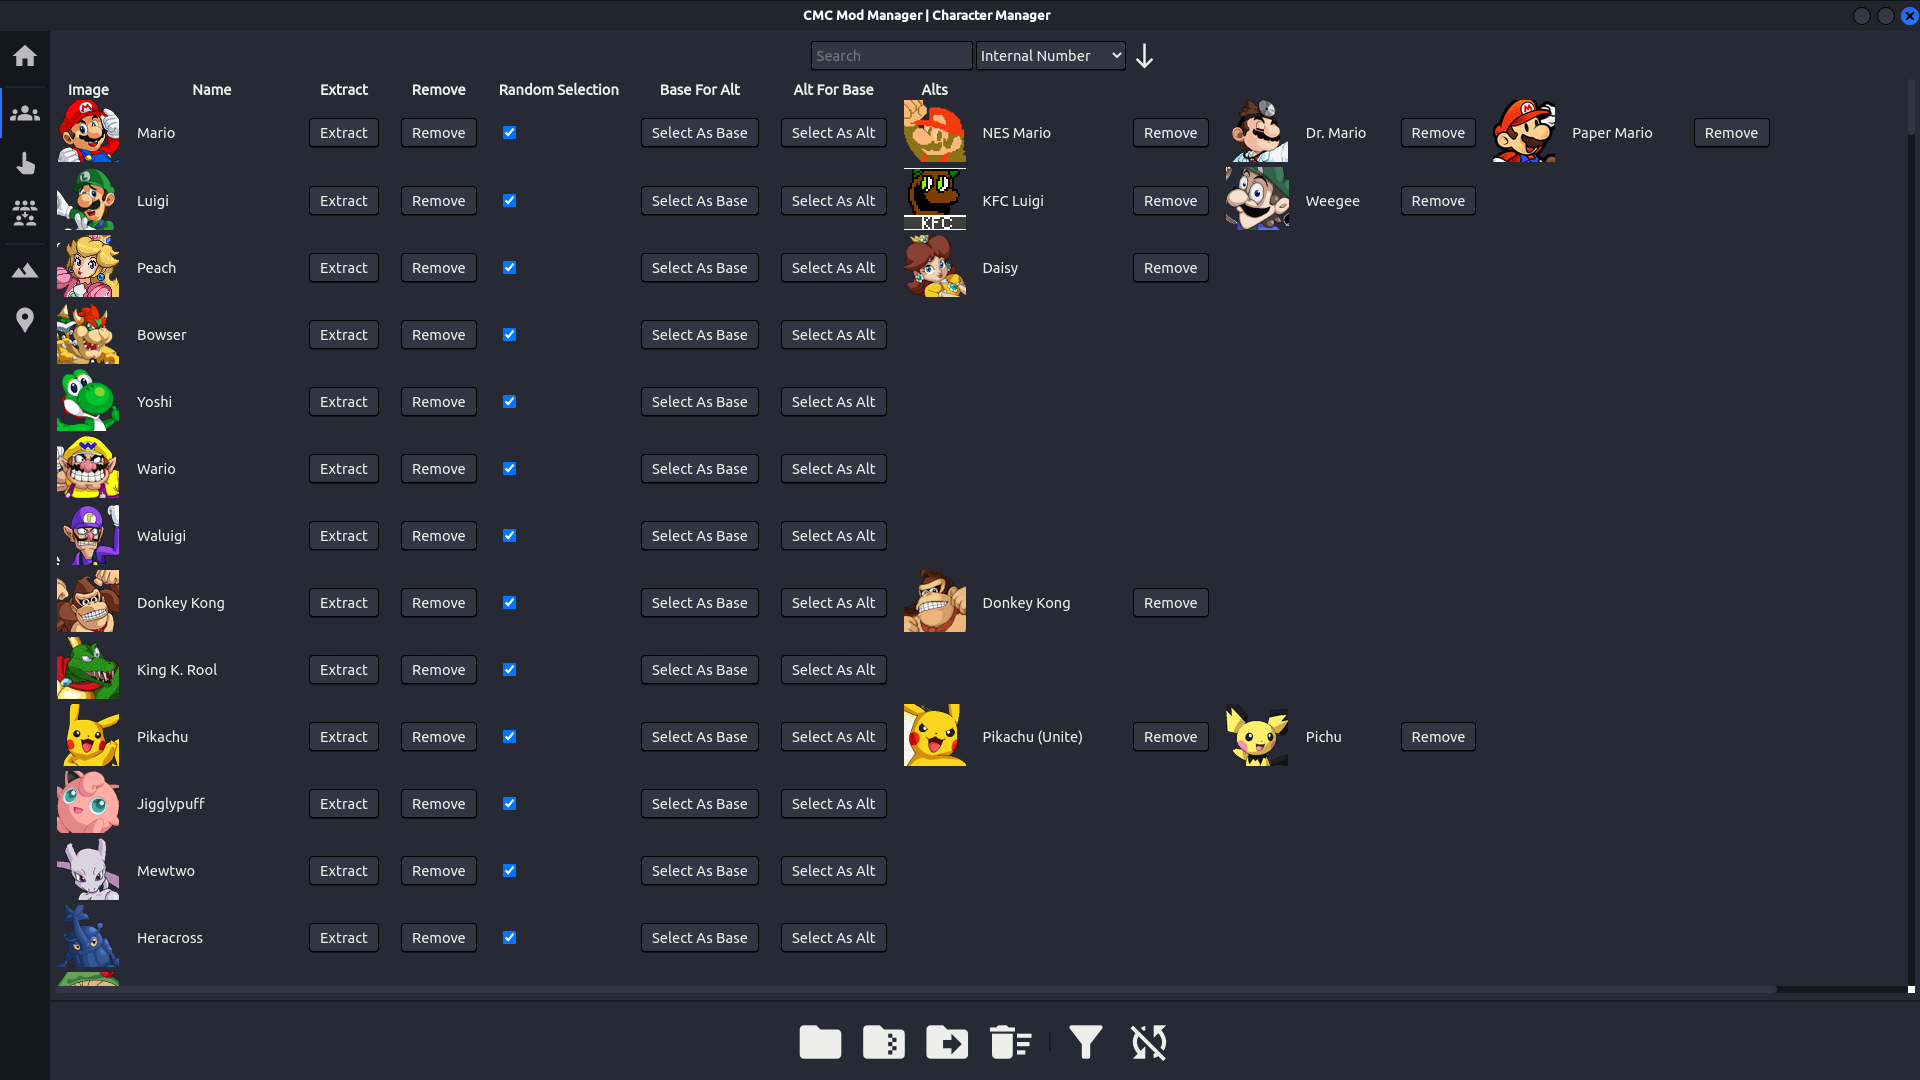
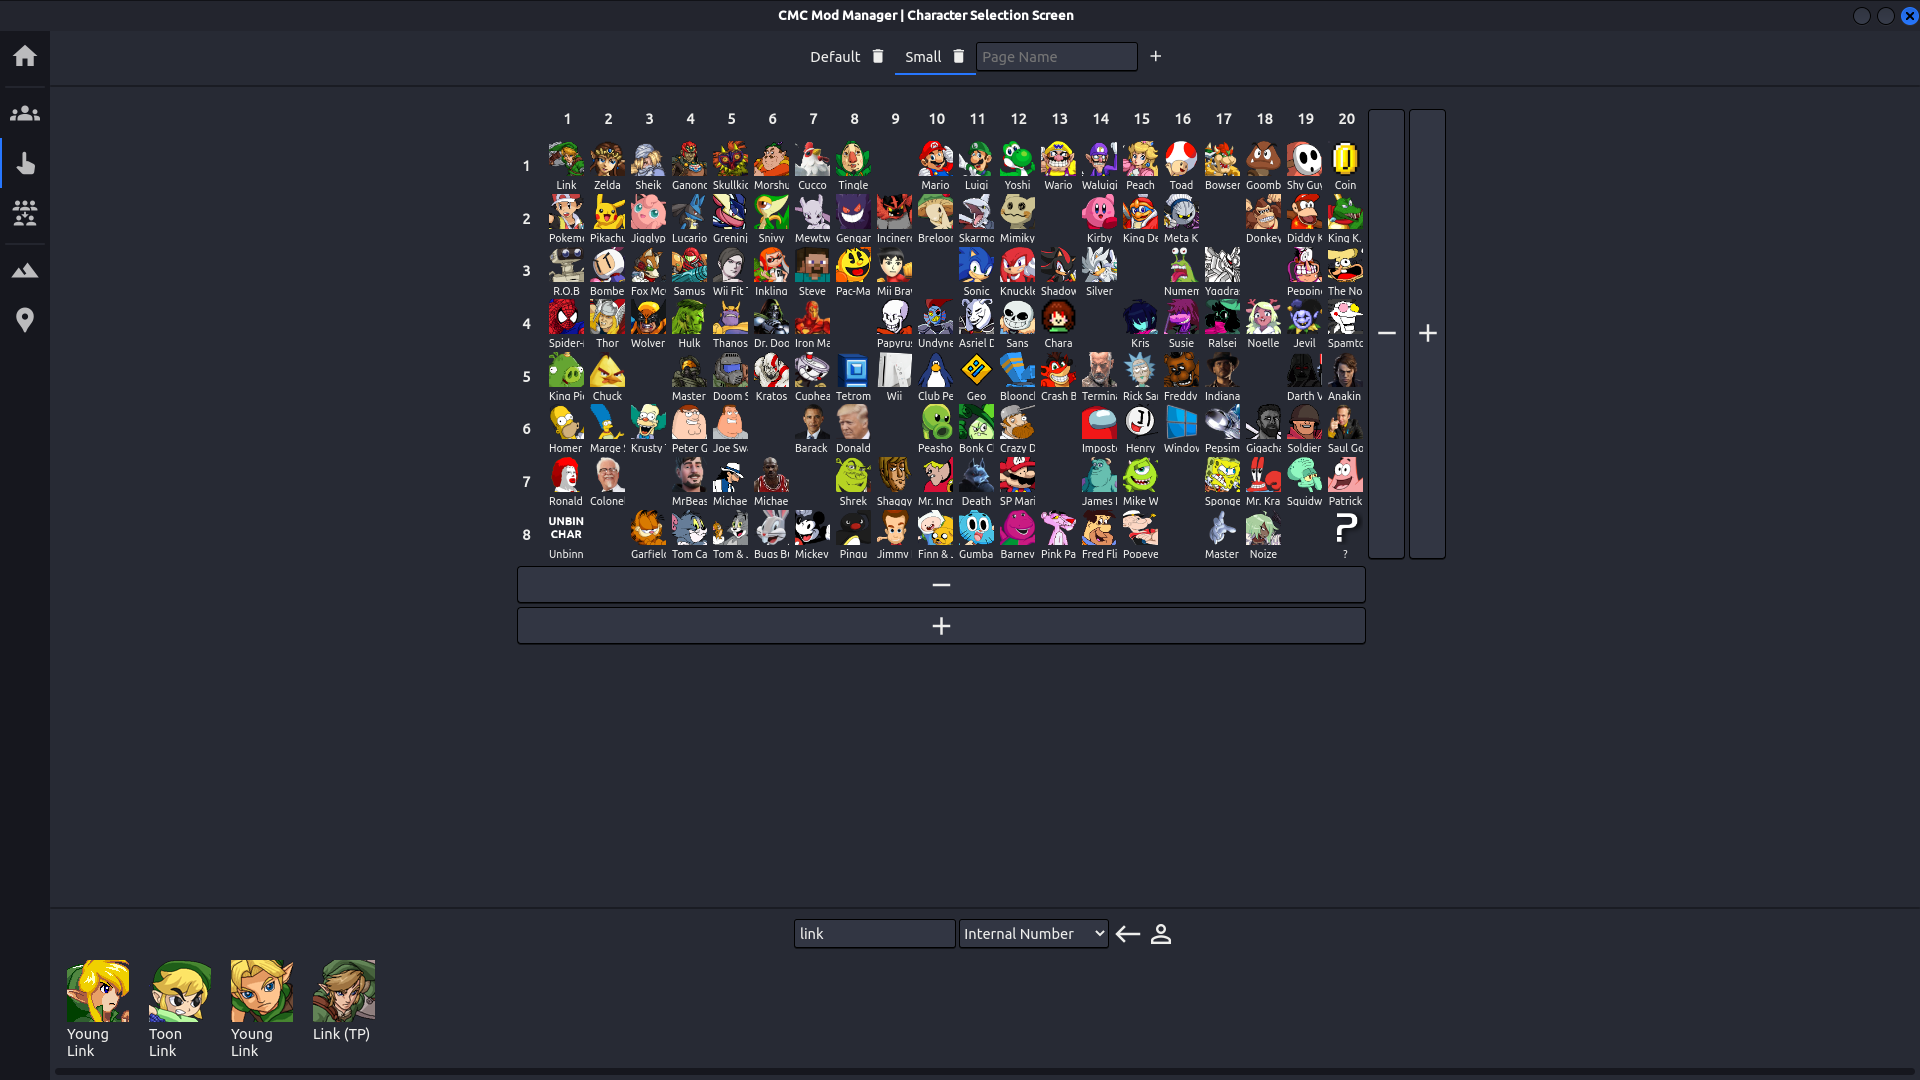
CMC+ has good modding support and modding the game currently isn't that hard, why use a mod manager? The main reason I developed this Mod Manager is for the CSS (Character Selection Screen) editor. Although it is certainly possible, adding characters to the CSS by hand annoyed me because of the need to find character numbers and names (if you are removing unknown characters). CMC Mod Manager allows you to add, swap or remove characters and stages to/from the CSS and the SSS with drag and drop. Additionally, it allows the installation of CMC+ v7 mods for CMC+ v8.

Installation
Go here to install the latest release of CMC Mod Manager for your operating system.
Windows
After downloading the zip, extract it in the directory you wish to install it in and run the exe.
Please note that CMC Mod Manager will not and is not intended to run on Windows 7, please switch to Linux.
Linux
CMC Mod Manager has three builds for Linux: DEB, RPM and zip. The DEB version can be installed via:
sudo apt install ./cmc-mod-manager-linux.deb
The RPM version can be installed via:
sudo dnf install ./cmc-mod-manager-linux.rpm
To install from the zipped version, download the compressed folder and extract it where you would like to install it, e.g.
/opt (Feel free to rename it as well).
Due to CMC+ being built for Windows, the default permissions are
very weird with some directories being read-only. To fix this
you must run sudo chmod 777 $CMC_DIR/* -R with
$CMC_DIR replaced by your CMC game directory before
installing it with the Mod Manager, otherwise, the program will be
unable to remove some of the files it is using.
Usage
Please ensure that the game has been run once to create all the necessary files.
Setup
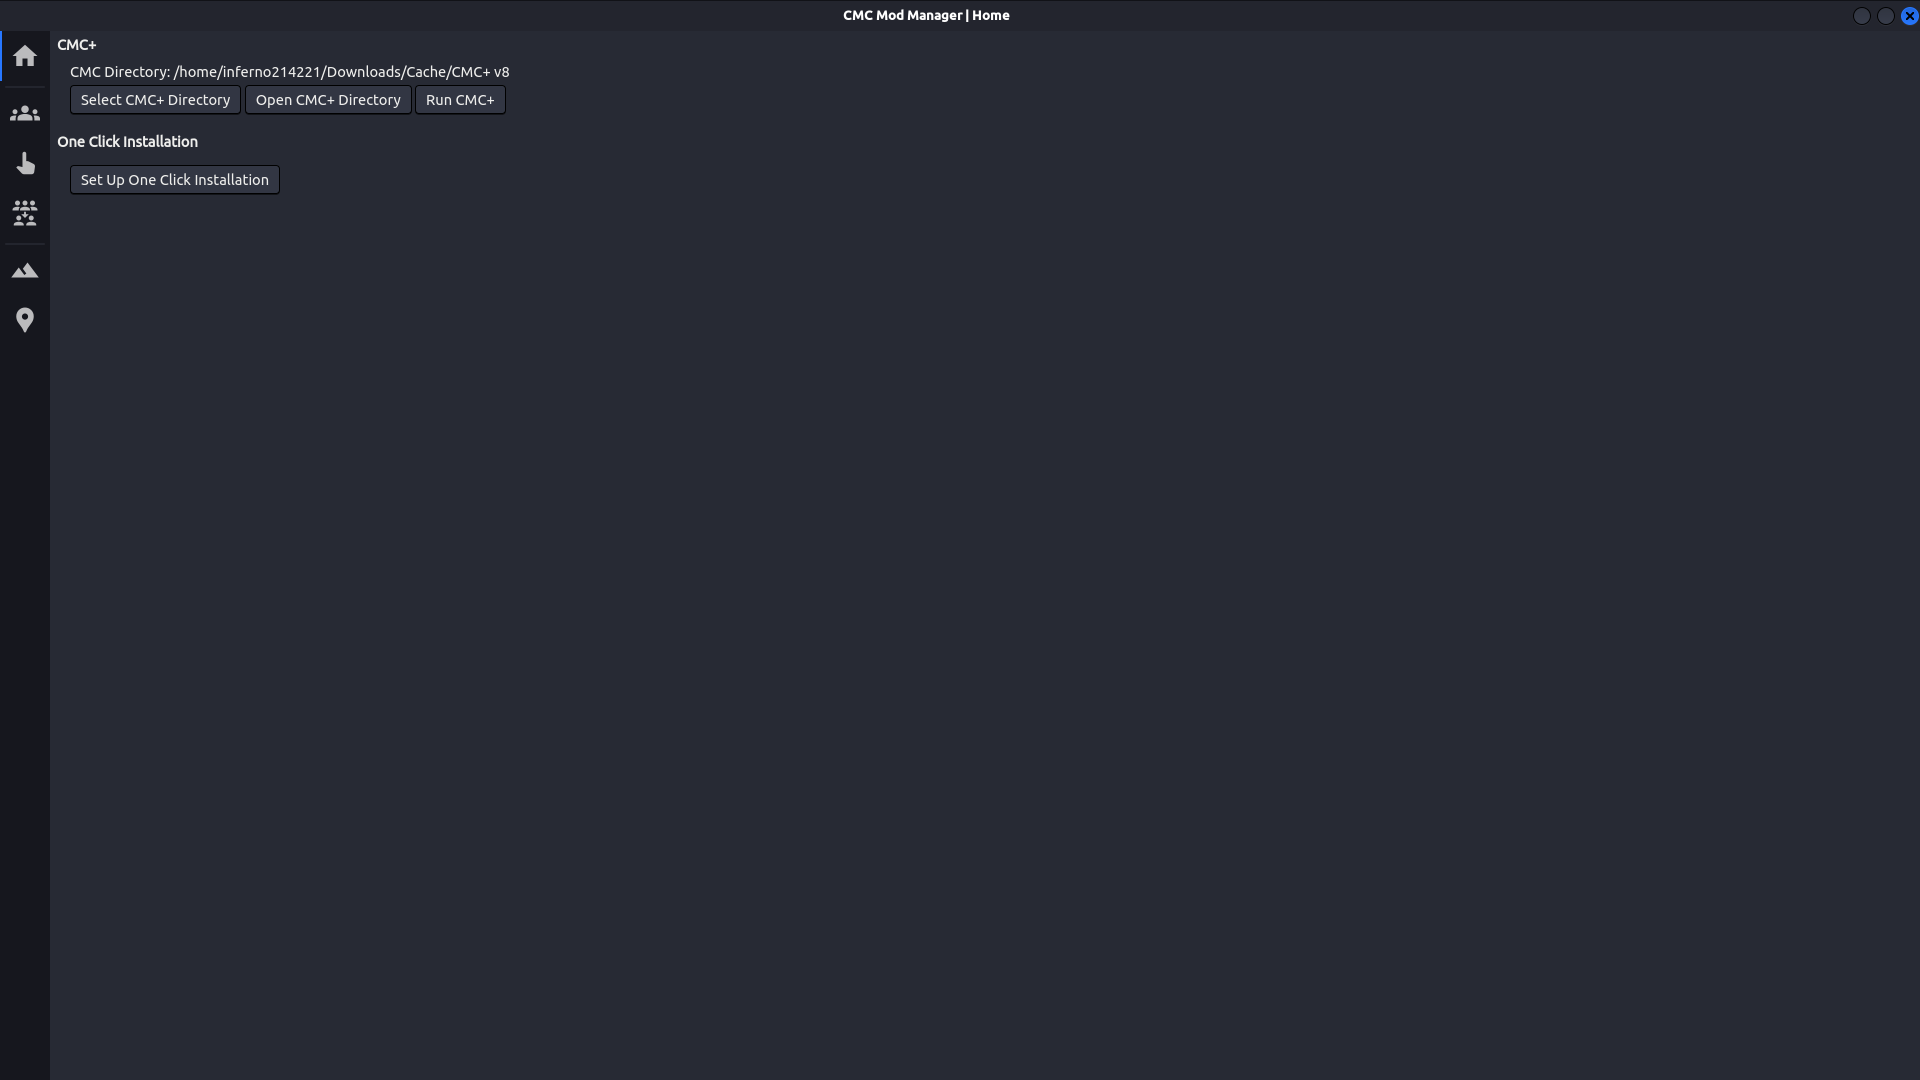
After installing CMC Mod Manager the first step is to select your
CMC+ directory. Under the "Home" tab choose "Select CMC+ Directory"
and select the folder with CMC+ v8.exe in it.
Character Installation
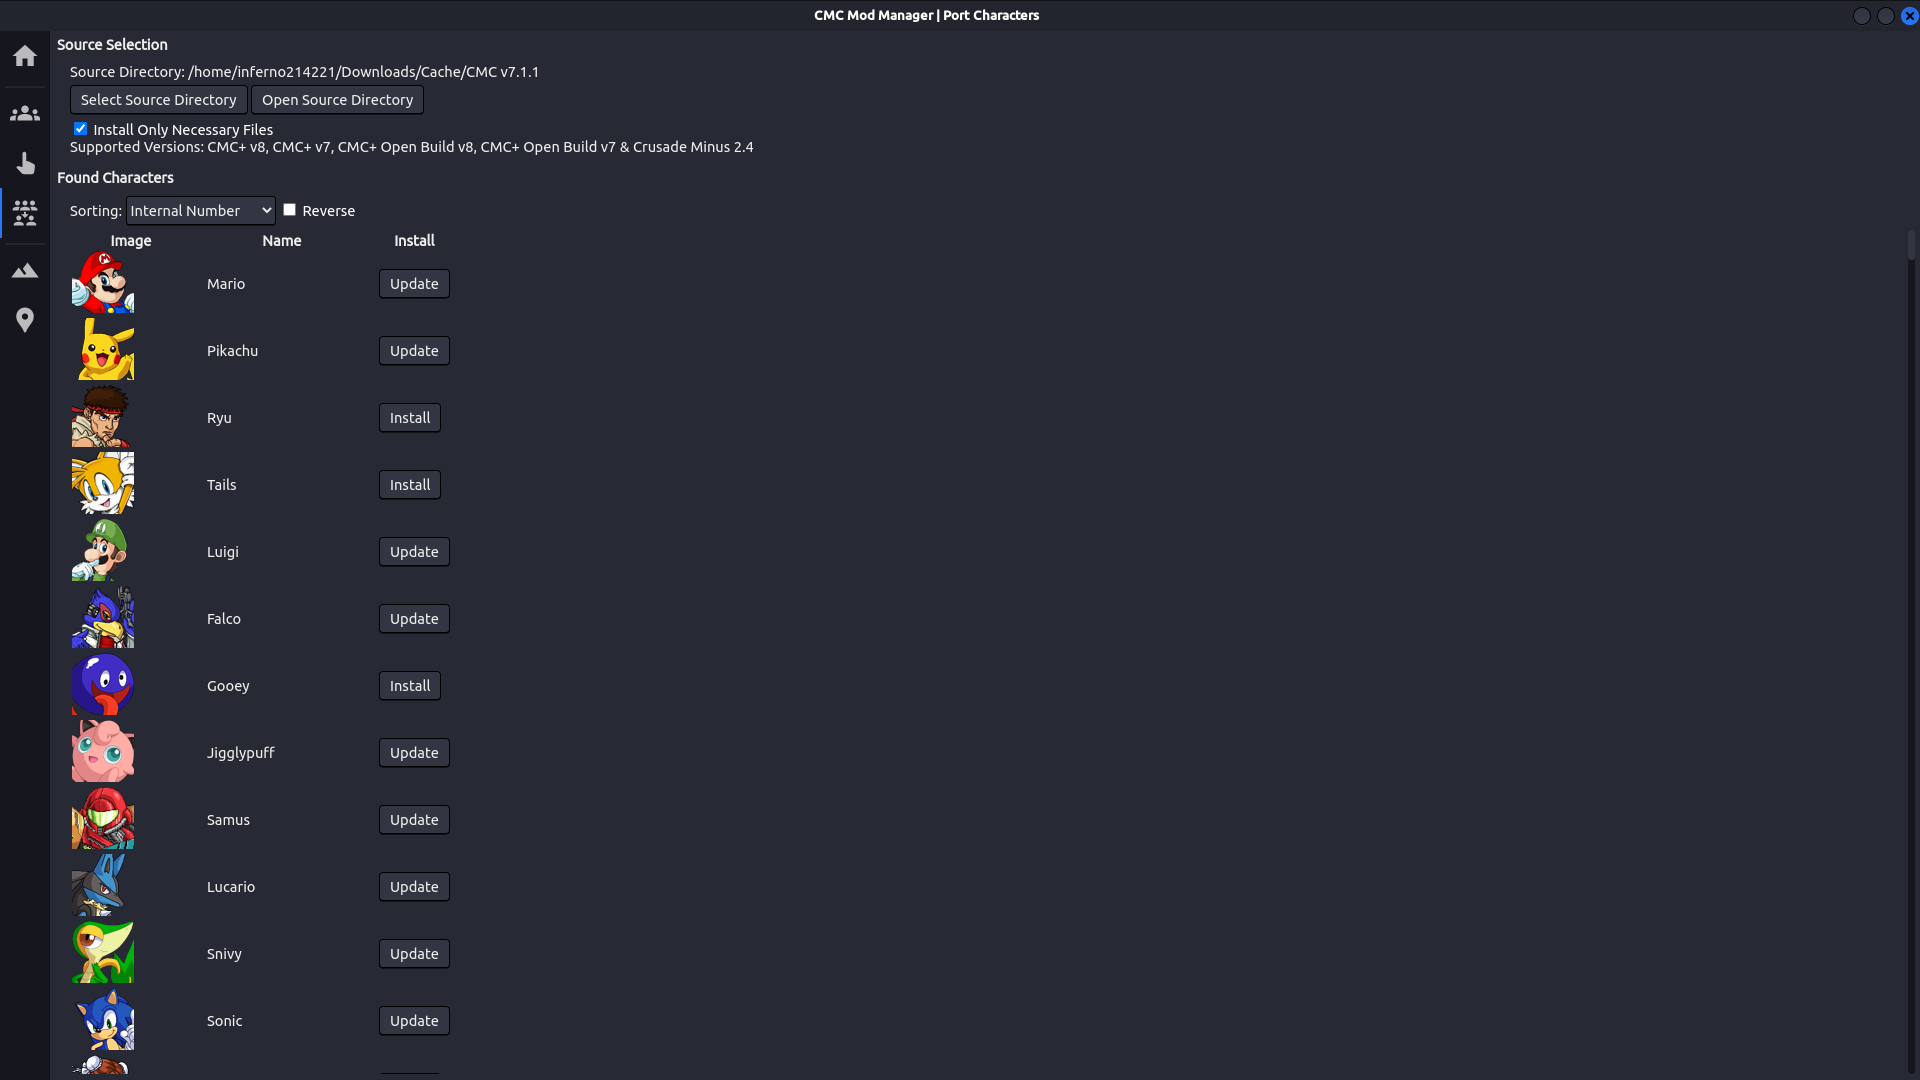
To install character mods, switch to the "Character Manager" tab
and select "Install from Directory" or "Install From Archive". Any
characters that you want to install need to be formatted correctly
so that the directory or archive you select contains the
fighter, data and gfx
directories (among others). Merging after mod installation is no
longer a requirement, just add your character to the roster/s by
dragging and dropping characters in the "Character Selection Screen"
tab.
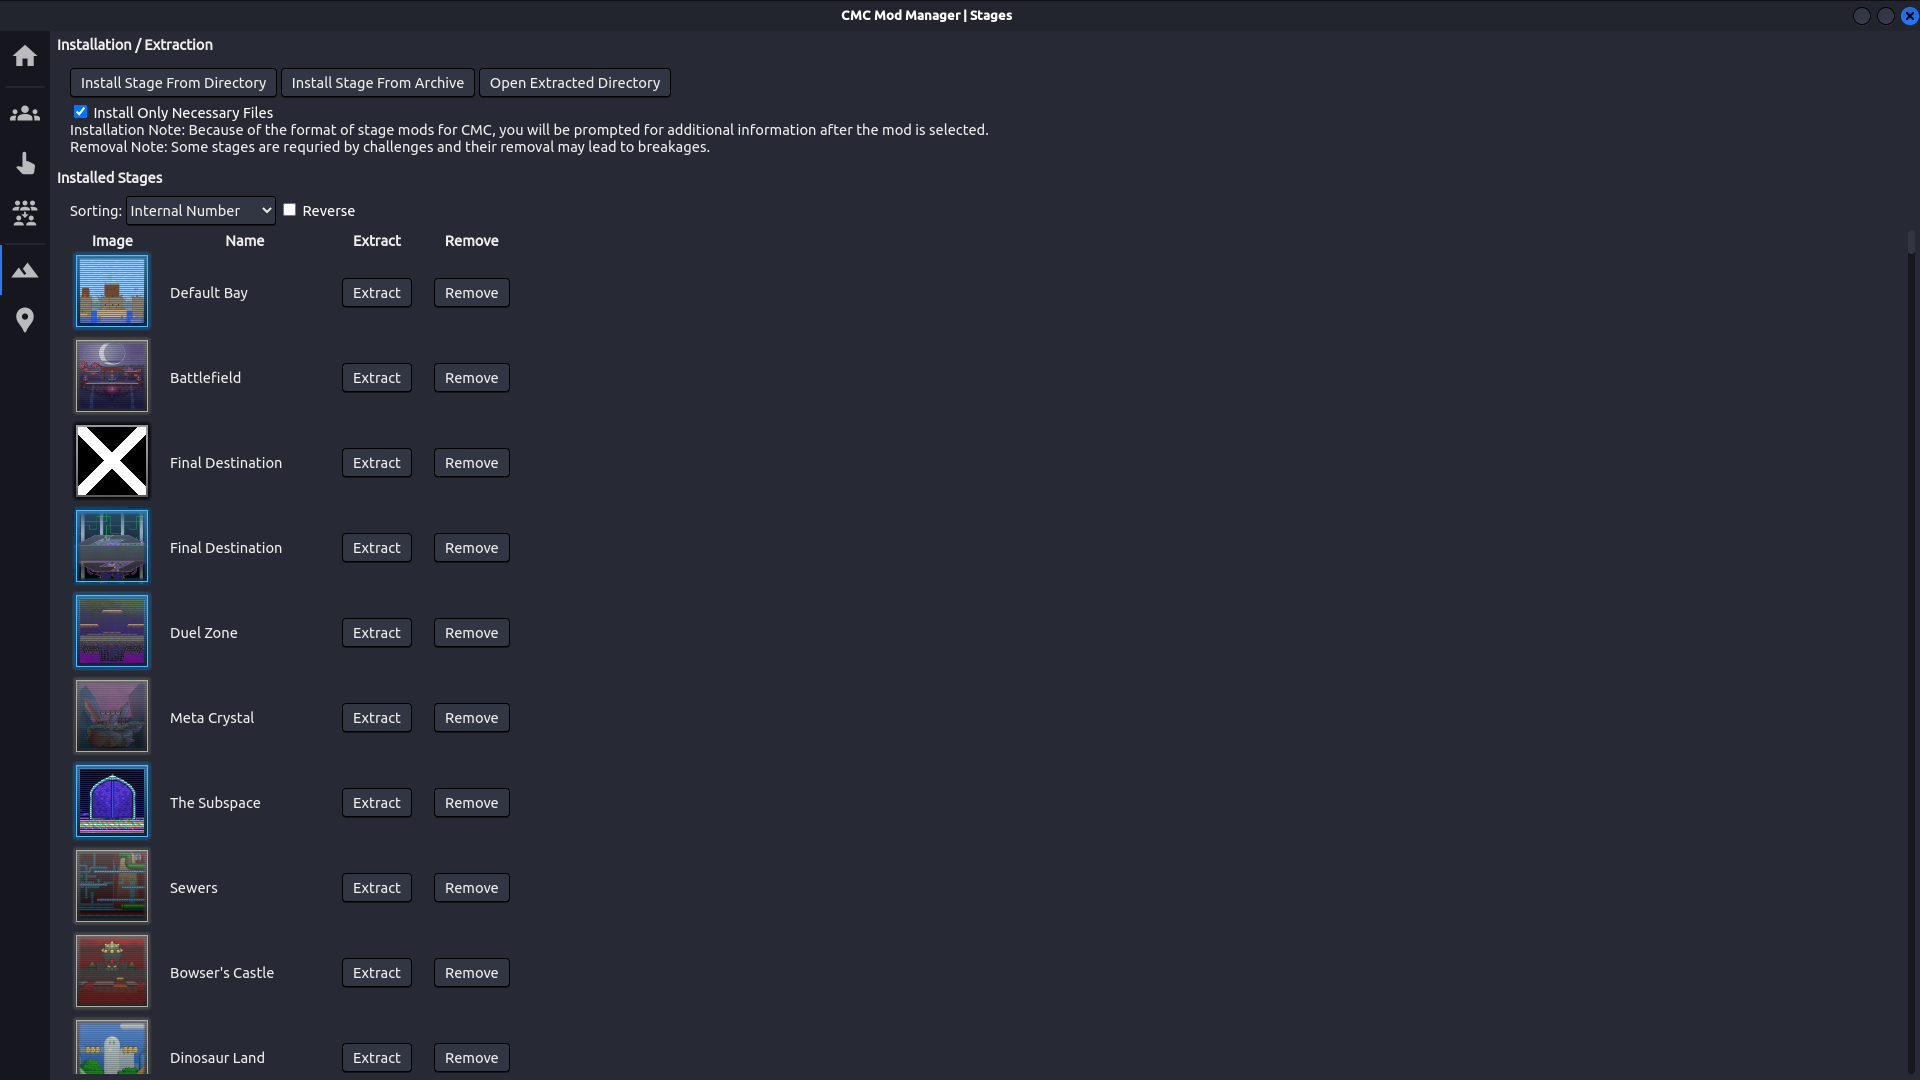
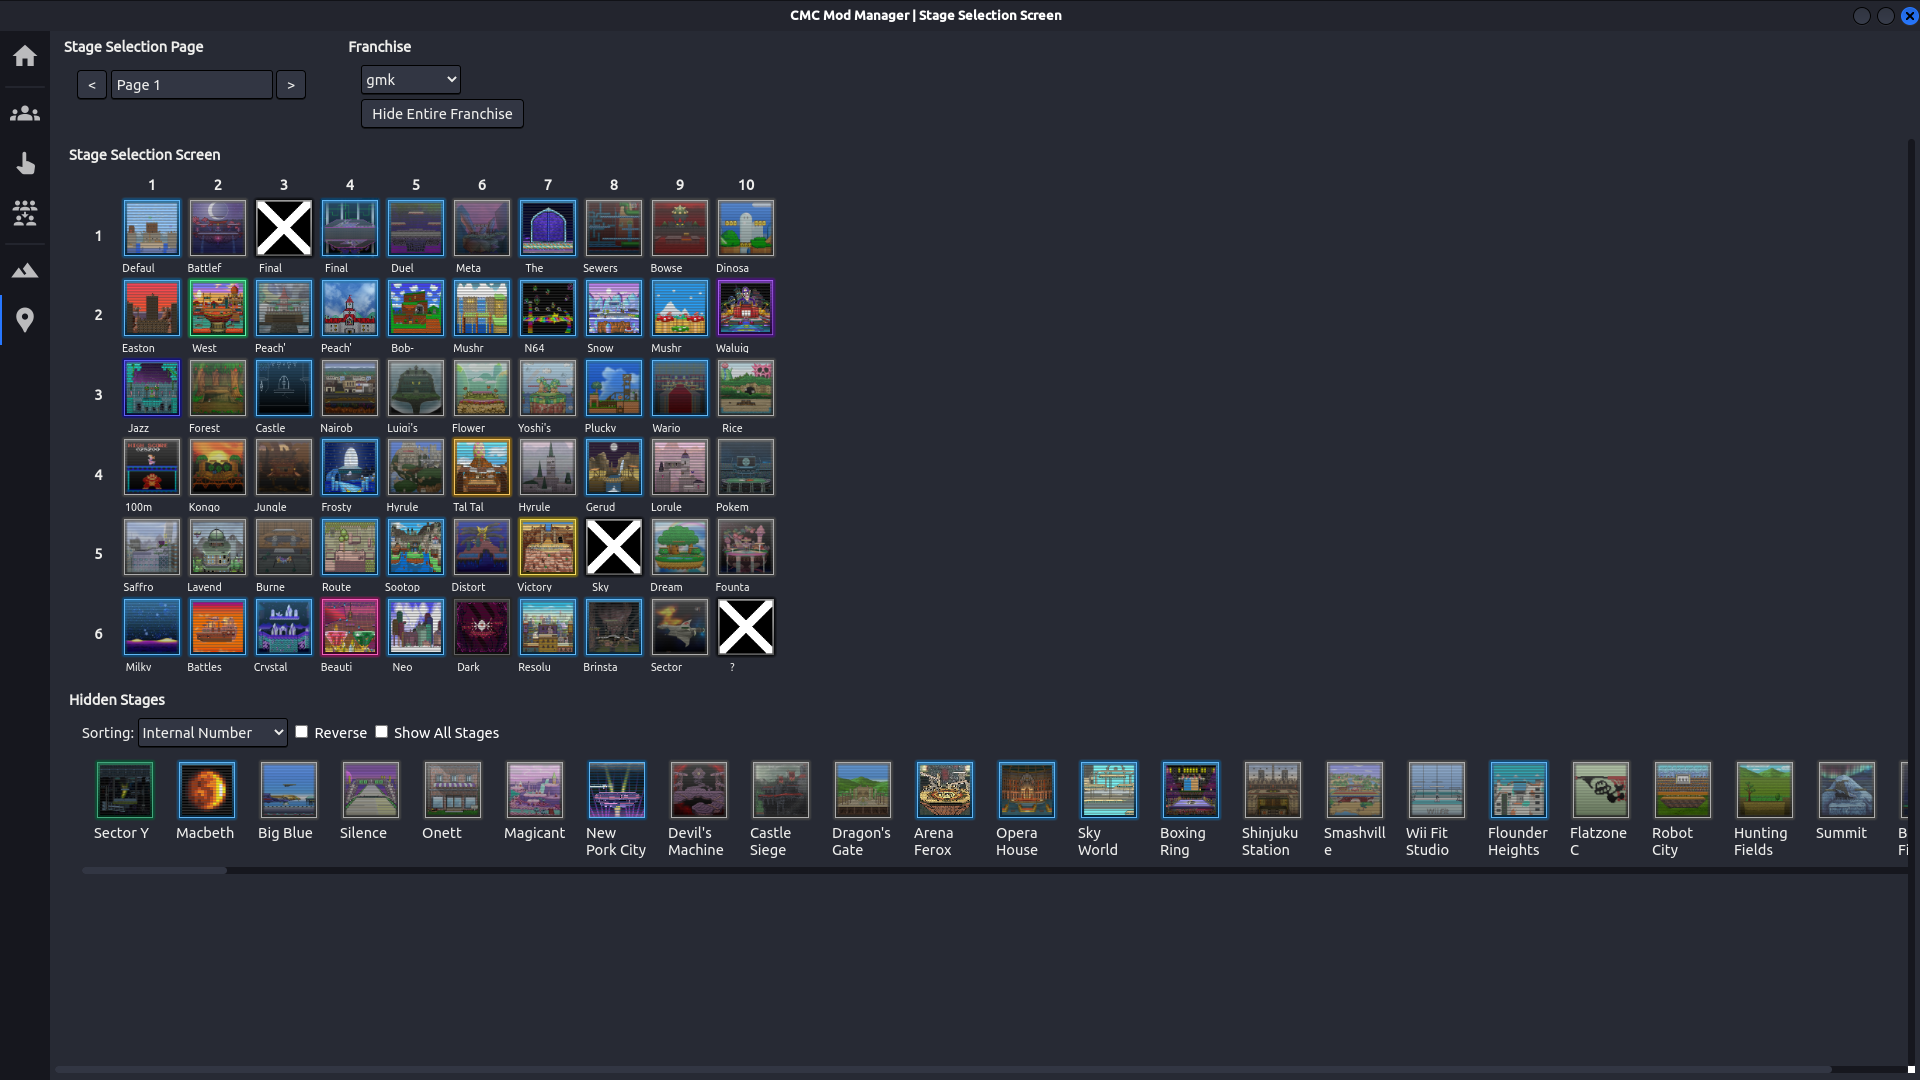
Stage Installation
The process for adding stage mods is the same although the stage tabs have a slightly older interface that I am working on improving currently.
One-Click Installation
As of version 2.4.0, CMC Mod Manager supports one-click installation and is integrated with GameBanana. After setting up the URI association with the "Set Up One Click Installation" button on the home page, valid mods can be installed with the "CMC Mod Manager" button on their GameBanana page.
Mod Support
As A User
- Please ensure that all mods that are installed are in the correct format and that the program is the latest version.
- If a breakage occurred installing a mod, try removing it via the mod manager, verifying its file and then re-installing with the "Install Only Necessary Files" checkbox unticked.
- If a recent mod is not working with the Mod Manager, try asking the developer to change their format so that their mod works with CMC Mod Manager out of the box.
- One-Click and Archive installation currently does not support 7zip so mods compressed in this format need to be extracted and installed from their directory.
As A Modder
Ensuring that mods function correctly with CMC Mod Manager should be an easy process, as it relies on the existing mod structure. If you are developing a mod and would like to support CMC Mod Manager, please format the mod's files in a way that all folders (fighter, data, gfx, etc.) can be copied into CMC's directory without requiring the user to move components around during installation. This will allow the Mod Manager to easily find the mod's files and automate the installation process.
If users are using the "Install Only Necessary Files" option within CMC Mod Manager (as is the default), only the following list of files and directories will be added to their game. When developing a character mod, please attempt to rely on only these files and directories for the CMC+ v8 version of your character.
Files Included Via Filter
                        arcade/routes/(fighter).txt,

                        data/(fighter).dat,

                        data/dats/(fighter).dat,

                        fighter/(fighter).bin,

                        fighter/(fighter),

                        gfx/abust/(fighter).png,

                        gfx/bust/(fighter).png,

                        gfx/bust/(fighter)_(palette).png,

                        gfx/cbust/(fighter).png,

                        gfx/mbust/(fighter).png,

                        gfx/tbust/(fighter)__*.png,

                        gfx/mugs/(fighter).png,

                        gfx/hudicon/(series).png,

                        gfx/name/(fighter).png,

                        gfx/portrait/(fighter).png,

                        gfx/portrait/(fighter)_(palette).png,

                        gfx/portrait_new/(fighter).png,

                        gfx/portrait_new/(fighter)_(palette).png,

                        gfx/seriesicon/(series).png,

                        gfx/stock/(fighter).png,

                        palettes/(fighter),

                        music/versus/(fighter)_*.(audio),

                        music/victory/(series).(audio),

                        music/victory/individual/(fighter).(audio),

                        sfx/announcer/fighter/(fighter).(audio),

                        sticker/common/(fighter).png,

                        sticker/common/desc/(fighter).txt,

                        sticker/rare/(fighter).png,

                        sticker/rare/desc/(fighter).txt,

                        sticker/super/(fighter).png,

                        sticker/super/desc/(fighter).txt,

                        sticker/ultra/(fighter).png,

                        sticker/ultra/desc/(fighter).txt
Additionally, All breaks in a character's dat file need to begin with at least one "-". (The template has 3 either side.)
Development
I have developed this program in my spare time for enjoyment and as an opportunity to learn how to use electron. Additionally, I dislike a large portion of the characters that are in the base roster and decided to write a program for the addition or removal of characters, using a modding format I was already familiar with.
I am currently in the process of rewriting the program with Typescript, React and Electron, as I learn these technologies while improving the implementation of this program.